1. Ping-Pong Ball Painting

This craft encourages kids to experiment with ping-pong balls and paint to create vibrant, surprising works of art. It’s great for encouraging creativity because it’s so unusual—it’s a totally different way of making images than doing a coloring sheet or scribbling with markers.
What You’ll Need
- Ping-pong balls
- 3–6 colors of nontoxic acrylic paint
- Empty egg carton
- White paper
- Cardboard box (one per child, similar in size to the paper)
- Masking tape
- Markers, pencils, and craft supplies (optional)
- Picture frame (optional)
What to Do
- Pour about a tablespoon of paint into each hole of the egg carton, one color per hole. Dilute the paint with a few drops of water and stir until it’s mixed.
- Put paper at the bottom of the cardboard box and tape down the edges.
- Have kids place a ping-pong ball into a color of paint and gently spin the ball to coat it. Repeat with one ball for each of the other colors. Kids can wash their hands off between colors to keep them from mixing, or you can see what happens if they don’t!
- Once the balls are painted, have the kids place them in the box with the paper. Close the box and tape it shut. Kids may need to wash their hands again at this stage.
- Shake it up! Let each kid shake their box as much as they want. Once they’ve finished, open the box to reveal the finished product.
To get even more creative, kids can draw on the finished artwork, sign their name, stick feathers or other craft materials on it, whatever they like! Once the masterpiece is complete, they can give it to a loved one or put it in a frame for their own room.
2. Rock Paintings
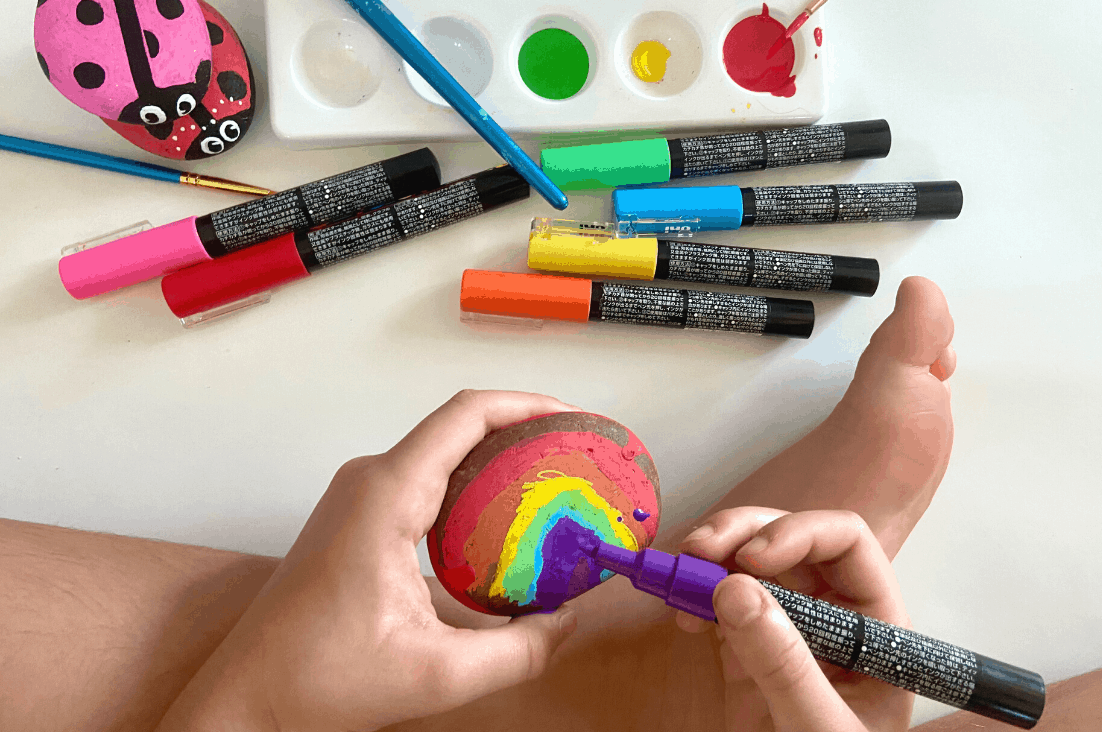
Rock paintings connect kids to one of the most ancient forms of human creativity. You can start with something as small as a pebble from the sidewalk, use a stone dug up in a garden, or paint a boulder in the backyard. It’s up to you!
What You’ll Need
- Rocks
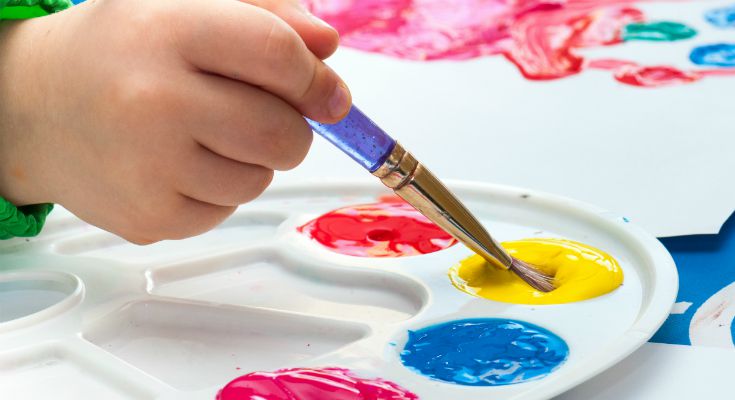
- Small paintbrushes
- Nontoxic acrylic paints (in a variety of colors)
What to Do
- Explain to the kids that you’re looking for rocks to make art with, then have them collect a few. Smooth rocks with a flat side are easiest to paint, but there’s creative value in seeing how a jagged surface changes an image too!
- Wash the rocks, then let them dry fully.
- Get out the acrylic paints and brushes and turn the kids loose! They can paint animals or people, messages or symbols, whatever their imaginations come up with.
- Let the paint dry. Now you’ve got your own rock art!
3. Bubble Glazing
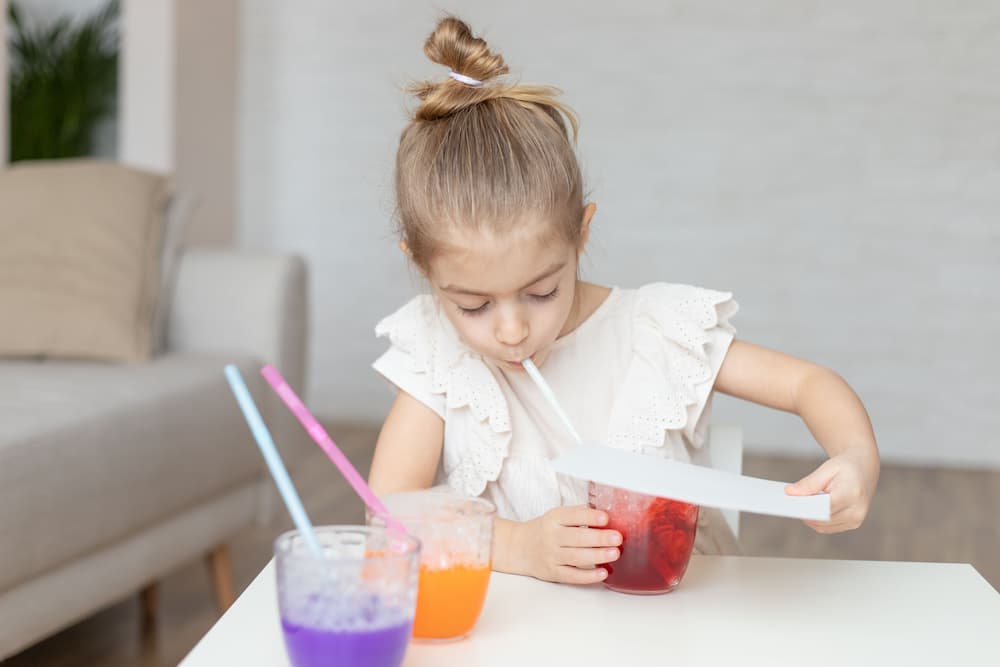
Do your kids love blowing bubbles in a cup of milk? Great! They can use the same technique with diluted paint to flex their imaginations at the kitchen table. (Just put down a protective covering first, because this one can get messy!)
What You’ll Need
- White cardstock
- Dish soap
- Washable, nontoxic tempera paint
- Small plastic cups (1 per color)
- Plastic straws (1 per color)
- Paper
What to Do
- In a small cup, mix ½ cup of water, a generous squirt of dish soap, and 1 teaspoon of paint. Repeat this step for each color you want to use.
- Now for the fun part! Have the kids place a straw in each cup and blow into it to create bubbles. Keep blowing until the bubbles reach over the cup’s top edge.
- Have the kids place a sheet of paper over the top of a cup, then pull it off and see how it creates a colorful imprint of the bubbles.
- Repeat with as many colors as they’d like! To stretch kids’ creativity, challenge them to try making an image using this technique.
4. Inspired Self-Portrait
What You’ll Need
- Drawing paper
- Colored pencils or pastels
What to Do
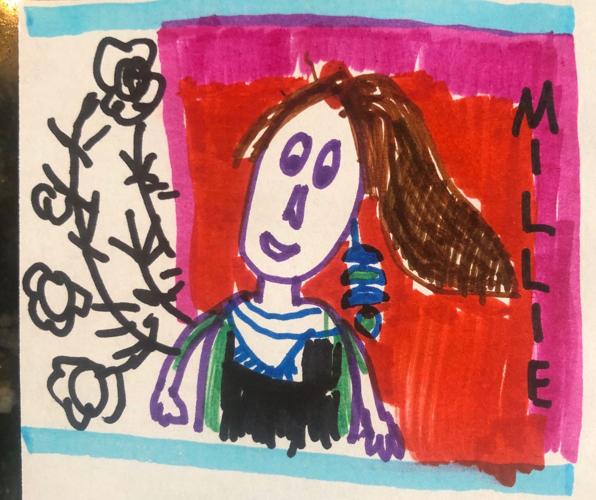
1. Have the kids create backgrounds for the self-portraits using pastels or colored pencils. Color blocks, scribble lines, or words all work well.
2. Next the kids should draw a picture of themselves over their background.
3. Encourage the kids to put other images in their self-portrait, like Basquiat often did. They could add objects representing things they’re proud of or that they struggle with, things they feel a strong attachment to, or anything they think is important in the story of their life.
Artists have used self-portraits for centuries as a creative way of expressing themselves. This activity is a great way to get your kids doing the same. Ask about the choices they made—their answers may surprise you!
5. Homemade Puffy Paint
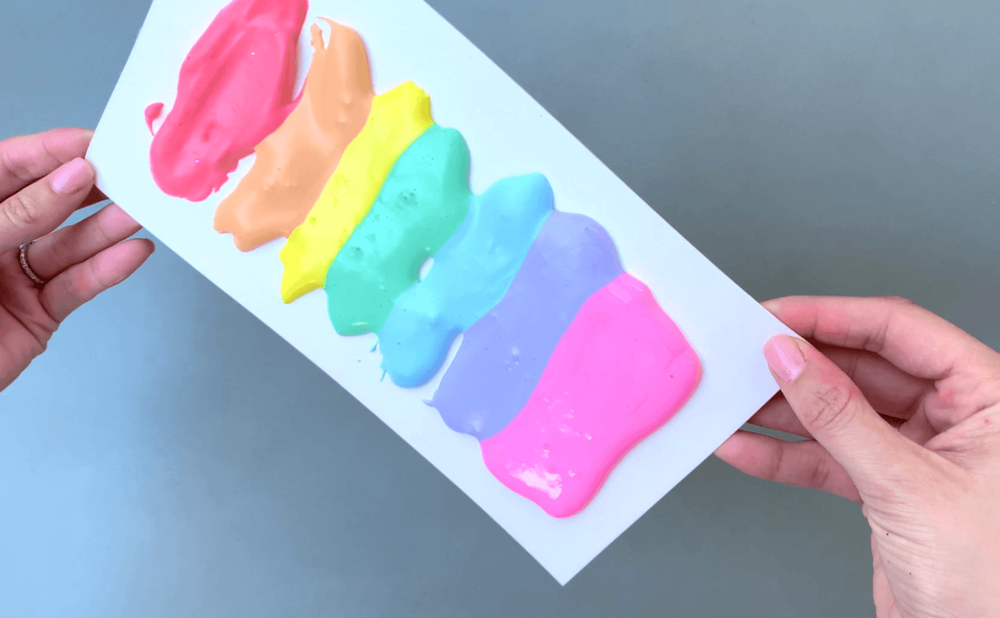
This recipe for homemade puffy paint lets even the youngest kids start making hands-on art. It’s a great preschool art project, but it’s fun for older kids and adults, too!
What You’ll Need
- 1 cup of shaving cream
- 1 cup of white glue (like Elmer’s Glue, but any brand will work)
- Four different colors of food coloring or water-based paint
- Paintbrushes, craft sticks, or a squeeze bottle
What to Do
- Measure the glue with your child and pour it into a container.
- Ask them to spray shaving cream into the container until they’ve added an amount roughly equal to the glue. Younger kids will need help with this step.
- Mix the glue and shaving cream together. Kids can do this with a spatula or their hands.
- Split the mixture up into four small bowls.
- Using a different color for each bowl, add about a teaspoon of washable paint or 10-15 drops of food coloring into the bowls. Stir until the color is consistent.
Once the colors are blended, it’s time for art! Kids can use paintbrushes, craft sticks, a squeeze bottle, or their fingers to swab, swish, and get creative. Encourage them to try out different tools and see how each creates a different kind of design.