With kids spending a lot more time indoors during the dreary winter months, be sure to arm yourself and your sitter or nanny with a few fun DIY art projects to keep them occupied and entertained. Check out these five creative projects that are sure to keep everyone happy.
Craft Bead and Button Snowman

These cute as a button snowman are great for hanging on the tree or adorning presents.
To make: Draw snowmen faces on wooden craft beads with markers. Thread a length of baker’s twine through a brown button. Thread both ends of the thread twine through two plain buttons then through the button with the face. Thread twine through 5 to 6 black button to creating a hat. Tie twine close to the top button to hold everything together, then tie again about 2-inches up to create a loop for hanging. Cut a thin piece of red felt and tie between the top to buttons for a scarf.
Easy Stitch Cards
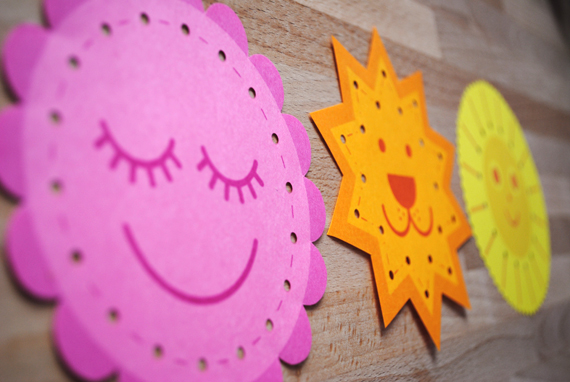
Try this not too easy, not too hard sewing project that works well for 4-9 year olds. It’s a budget-friendly craft that you can create with materials you likely have on hand or can easily find at any craft store. Thanks to Mini eco for proving the instructions AND free printable cards. Download the cards and print on colored card stock. She used orange, pink and yellow, but feel free to use your child’s favorites.
To make your sewing cards you’ll also need a hole punch, yarn, a blunt needle and a button or bead to tie at the end of the yarn as a stopper. Instructions via the blogger:
Simply print pdfs and cut out. Pinking shears can be used for extra flare.
2) Punch holes out (as pictured)
3) Have you child lace the yarn through the holes
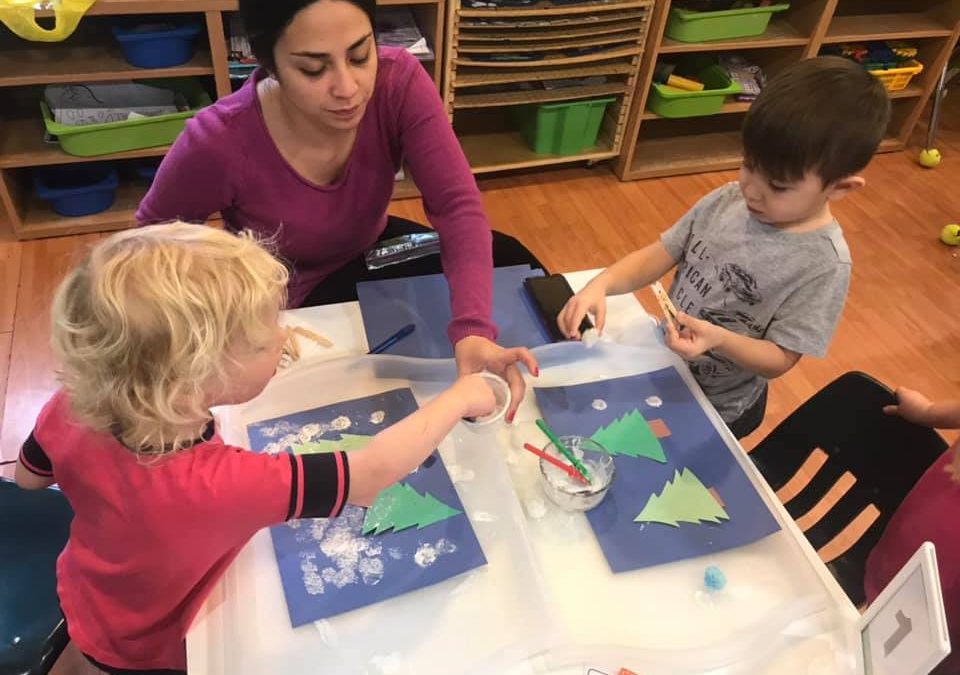
Shimmery Snow Paint
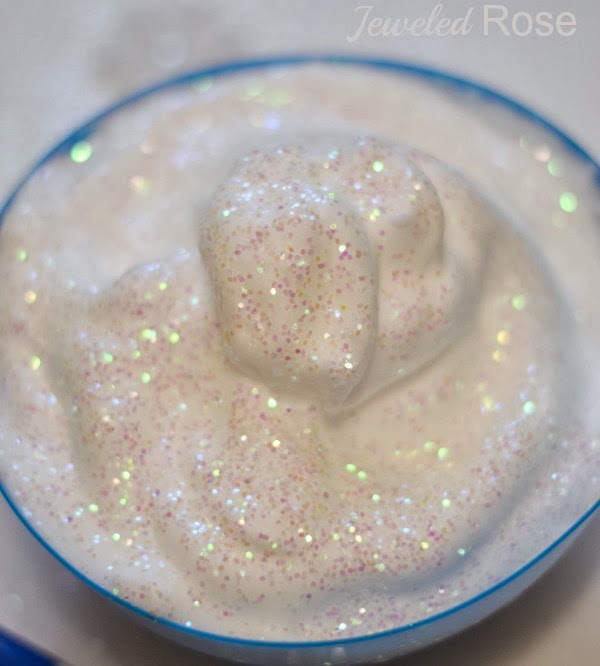
Kids love a new art material and this one doubles as a fantastic sensory material. Plus, it’s perfect for winter. There are lots of recipes out there for paint that looks like snow, but this one tops the list for the most shimmery, realistic looking flurries. For the best results, refrigerate the shaving cream and glue overnight then let it warm up for about 10 minutes the counter before using.
Recipe via Growing a Jeweled Rose. You’ll need the following materials: shaving cream, white school glue, peppermint extract, iridescent glitter or buffalo snow.
Mix equal parts of glue and shaving cream in a bowl – you can eyeball the amounts. Sprinkle in as much glitter or buffalo snow as you like. Add a few drops of peppermint extract and mix. You can add more glitter, if need be.
It’s fun for kids to use their new paint to create wintery scenes filled with snowmen. Colored construction paper works well as a background.
Reindeer Food Cones

In the lead up to the visit from the big guy in red enlist the kids to craft reindeer cones that they can use to sprinkle a snack for Donner, Dasher, Dancer, and Comet (really for the birds but the fantasy is the fun!) when they come to drop off presents.
To make: Cut a piece of brown kraft paper into a shape that can be rolled into a cone shape. Draw reindeer antlers, eyes, and a large red nose in the middle of the paper. Roll the shape into a cone and tape together. Fill cone with birdseed.
Bottle Cap Stamps
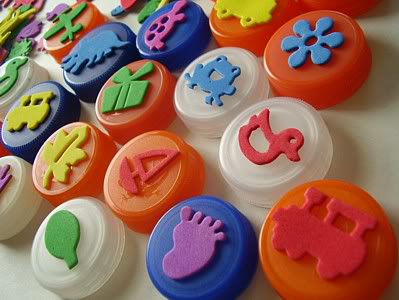
Create your own stamps with the bottle caps from water or juice bottles and small foam stickers. For the idea you can get your supplies from merely visiting the recycling bin for bottle caps and the dollar store for a handful of stickers. Simply glue stickers to the tops of the caps and use either a stamp pad or paint for the ink. Kids, little and big, will have a ball creating all sorts of project with their stamps – posters, cards, signs, etc.
Santa Advent Calendar
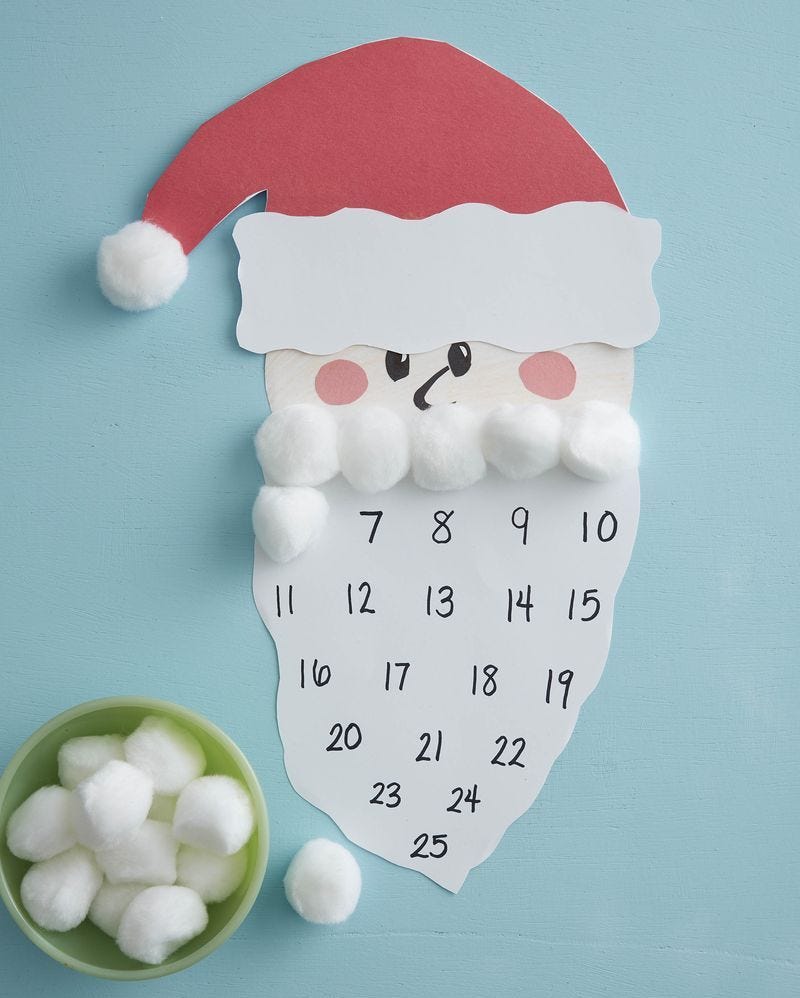
The kids will love helping Santa’s beard grow with fluffy cotton balls.
To make: Cut Santa’s face from white craft paper. Add texture with colored pencil. Cut pink cheeks, eyes, and nose from construction paper; glue to the face. Cut the hat from red and white craft paper; glue to the face. Glue a large cotton ball at the point of the hat. Cut a long beard shape from white craft paper. Write the dates of the month leading up to Christmas on the beard. Hang the calendar and set a bowl of cotton balls and a bottle of glue nearby.
At Rising Stride Child Care Centers, your child will build a strong educational and social foundation – with all the fun of childhood mixed in. Our programs focus on school readiness, social, emotional and intellectual development, and what every child needs – love and care!