
This is a fun and easy recipe for making ice cream in a bag. It’s perfect for kids, since it doesn’t require any special equipment or ingredients. All you need is some sugar, half and half, rock salt, ice cubs, and a Ziploc baggies.
Ice cream is, obviously, synonymous with summer. But in addition to lots of flavor (using simple ingredients), there’s also a whole lot of science you can fit into that little bag.
Between the summer boredom which seems to settle in towards the end of July, this homemade ice cream in a bag was the best activity to come out of our kitchen this summer.
Kids will get to witness first hand how their liquid ingredients change to solids, and how the solid ice changes to liquid. There’s tons of opportunity to talk about heat transfer, property changes, and even work on skills like measurement.
The key to making this activity work is to have fun creating your own flavors, from black raspberry, cookies and cream, or even strawberry (yum!)
That’s a whole lot of science in a little bag. Plus, they’ll get to eat ice cream. Trust me- they’re going to be on board with this one.
So if you’re looking for a fun summer activity, give this homemade ice cream in a bag recipe a try. Your kids will thank you for it!
Ice Cream in a Bag Recipe – (Prep Time 30 minutes) – (Total Time 30 minutes)
Ingredients
- 1/2 cup Milk
- 1/2 tsp Vanilla
- 1 1/2 Tbsp Sugar
- Gallon Size Bag 3/4 Full of Ice
- 6 Tbsp Rock or Ice Cream Salt
Instructions
-
Place your sandwich bags inside of cups to keep them open while you add ingredients.
-
Add a half cup of milk into each bag.
-
Pour in a 1/2 teaspoon of vanilla.
-
Add 1 1/2 tablespoons of sugar to your ice cream mix.
-
Close up the bags, and secure the opening with masking tape.
-
Fill a gallon size bag about 3/4 of the way full with ice. Add in six tablespoons of ice cream salt.
-
Place your bag of ingredients into the gallon size bag of ice. Close and secure the opening of this bag, too.
-
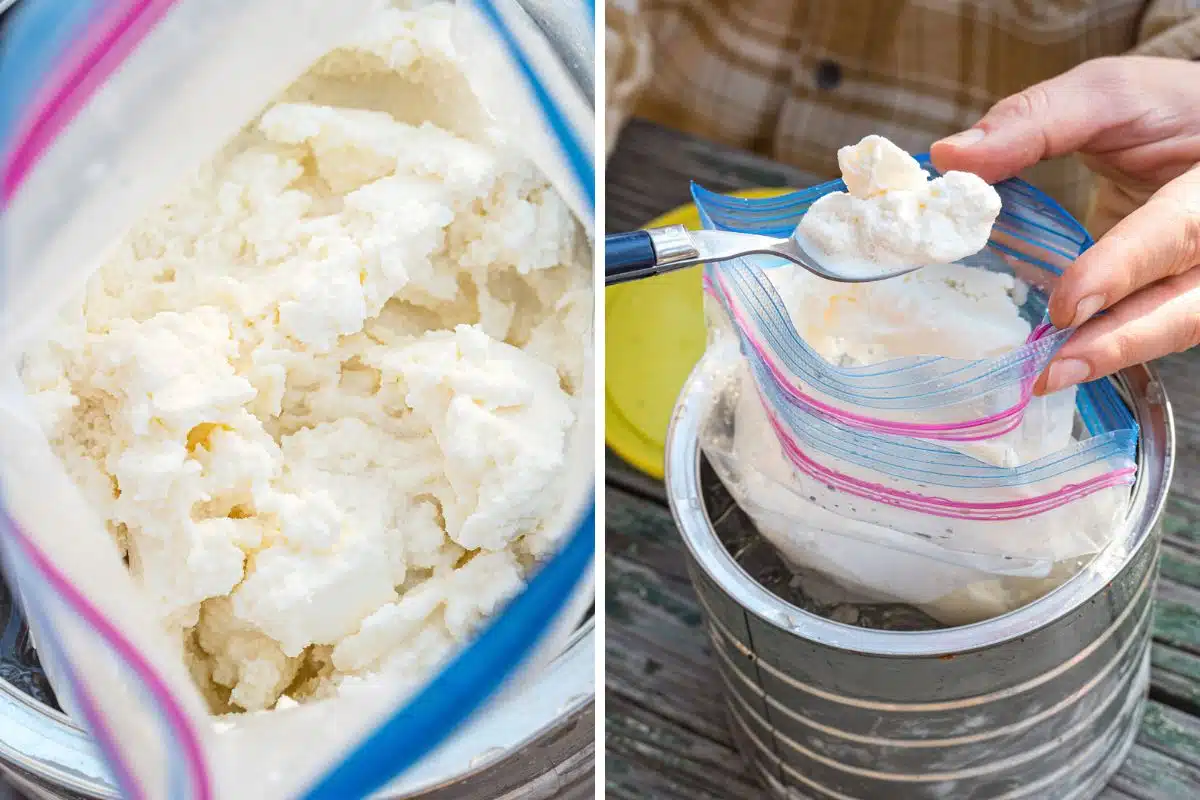
Shake the bag for 5-10 minutes, or until the ice cream reaches the consistency of a thick milkshake.
-
Add toppings, if desired, and enjoy!

Step One: Set Up Your Bags
Since this ice cream is in a bag, you’re going to need to set up those bags in a way that doesn’t result in spilling milk all across your kitchen floors.
To avoid spilling your ice cream in a bag ingredients, place sandwich-sized Ziploc bags inside of cups. Flip the top of the bag over the side of the cup. This will add a little more stability to your bag and help keep your ingredients where they’re supposed to be.
Step Two: Add Milk
Measure out a half cup of milk for each bag. Let your kids pour it into their sandwich bag (and, if they need a little help to pour, feel free to give it to them).
I love our angled measuring cups. It makes it super easy for the kids to see how much they’ve poured, and makes it easy to transfer the liquid to the bags afterwards.
Step Three: Add Vanilla
Each bag needs a half teaspoon of vanilla. A little vanilla goes a long way, so I almost always do this step for the kids.
If you pour the vanilla into the teaspoon, you’re probably safe to let the kids pour it into the bag from there. Probably.
Step Four: Sugar
Now let’s make this ice cream sweet. Add a Tablespoon and a half to each bag.
To make the experience extra special, grab your kids their own measuring spoons to use when they’re in the kitchen with you.
Step Five: Seal
Now, this little bag of yum is going to go through a lot of shaking in the next few minutes. You need to make sure your seal is super tight, or you risk leaking your yummy ice cream into the bag of salty ice. Not ideal.
After sealing the bag, I typically add a piece of masking tape across the top of the bag to make sure that it doesn’t split open during the freezing process.
Step Six: Set Up Your Salted Ice
Next up? Freezing that ice cream. You’ll need to fill a gallon size bag about three quarters of the way with ice. If you prefer, you can also use a large Tupperware container. I prefer to stick to the “in a bag” theme, but feel free to do whatever works for you and your kids.
This is where some science kicks in. You’ll add six Tablespoons of rock salt (also known as ice cream salt. It’s super cheap and it’ll last you forever.) to the bag of ice and give it a little shake. Explain to kids that the salt will lower the freezing temperature of the ice, which will cause it to melt. The ice will absorb the heat from the bag of ice cream ingredients, causing it to freeze instead.
So while your ice melts, your ice cream will freeze. It’s a pretty neat example of transfer of energy and changing matter, and is pretty easy for kids to understand once they see it for themselves.
Step Seven: Shake Up Your Ice Cream in a Bag
Now comes the fun part- shaking up that ice cream! Place your bag of ice cream ingredients into your gallon size bag of ice and salt. Have kids hold it by the top and shake it up and down, back and forth, for five to ten minutes.
I like to put on some music while we shake up our ice cream. It helps the time go by a little faster.
If their hands get cold while shaking, feel free to let them put on some over mitts to protect their hands (we like these kid-sized ones). They can also place the bag on the counter top and roll the bag back and forth if they get tired of shaking.
Step Eight: Enjoy!
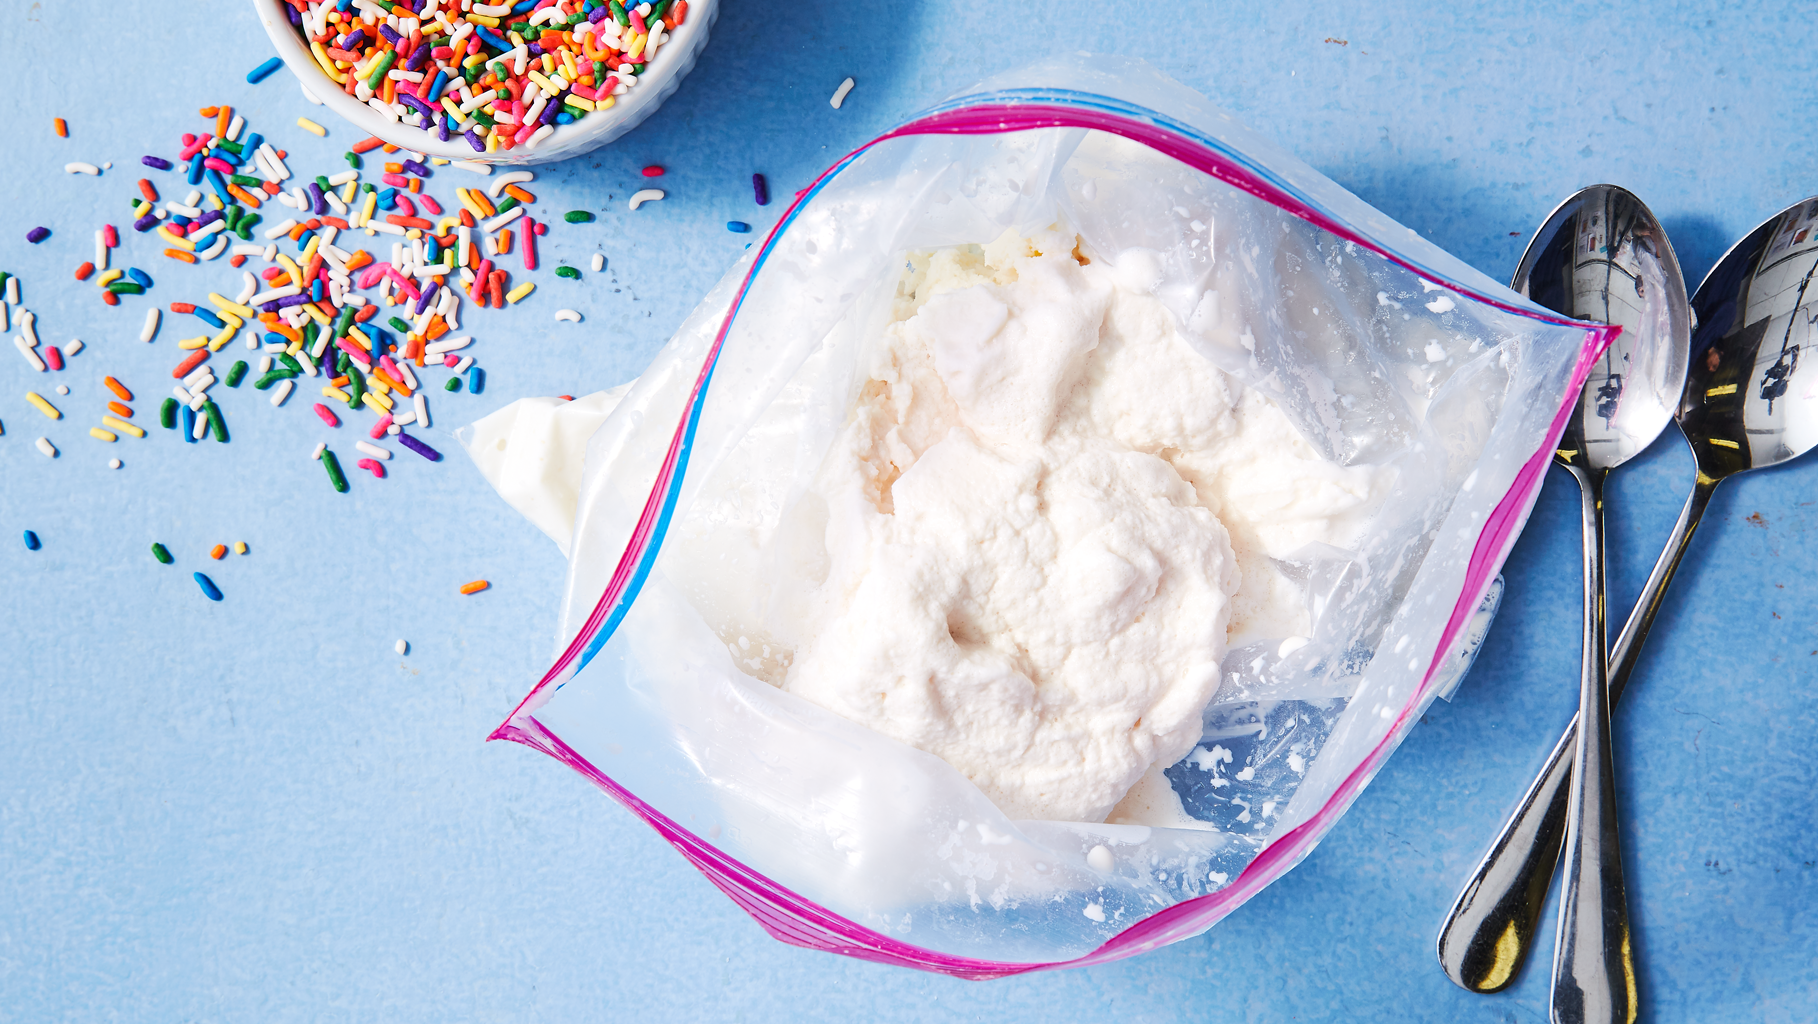
Once your ice cream has reached a semi-solid state (about the texture of a thick milkshake) it’s time to enjoy. We top our bags with a few sprinkles, and let the kids eat it right out of the bag.
It’s going to taste a bit different than the ice cream they’re used to, but it’s a very rewarding STEM project that kids will love to get hands-on with.